These no-bake chocolate peanut butter protein bars are made with just a handful of healthy ingredients and taste just like a peanut butter cup. They will be your new favorite snack to keep in your fridge and enjoy all week long!
If you love a good no-bake, high-protein snack that tastes like dessert, these chocolate peanut butter protein bars might just become your new obsession! They’re made with simple ingredients, require no baking, and can be prepped in as little as 10 minutes — perfect for stashing in the fridge and grabbing throughout the week.
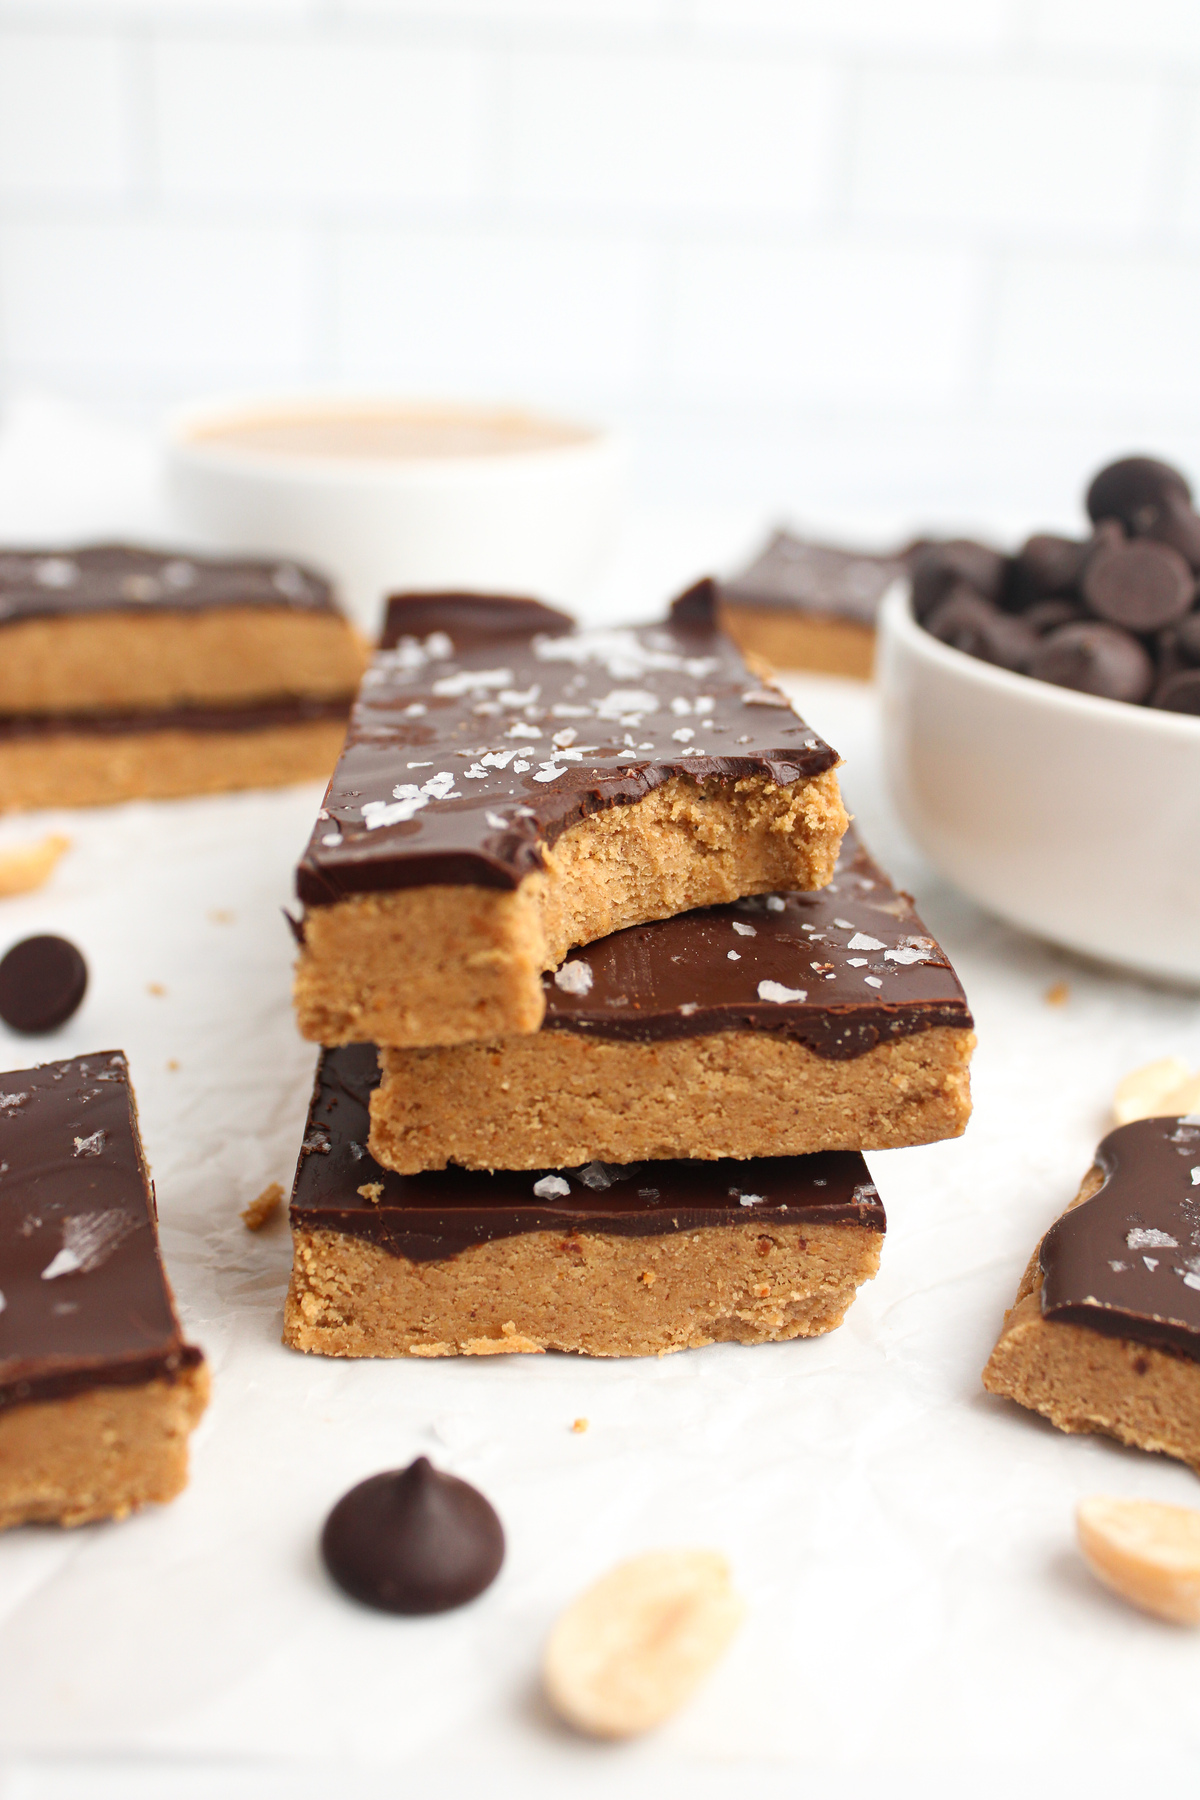
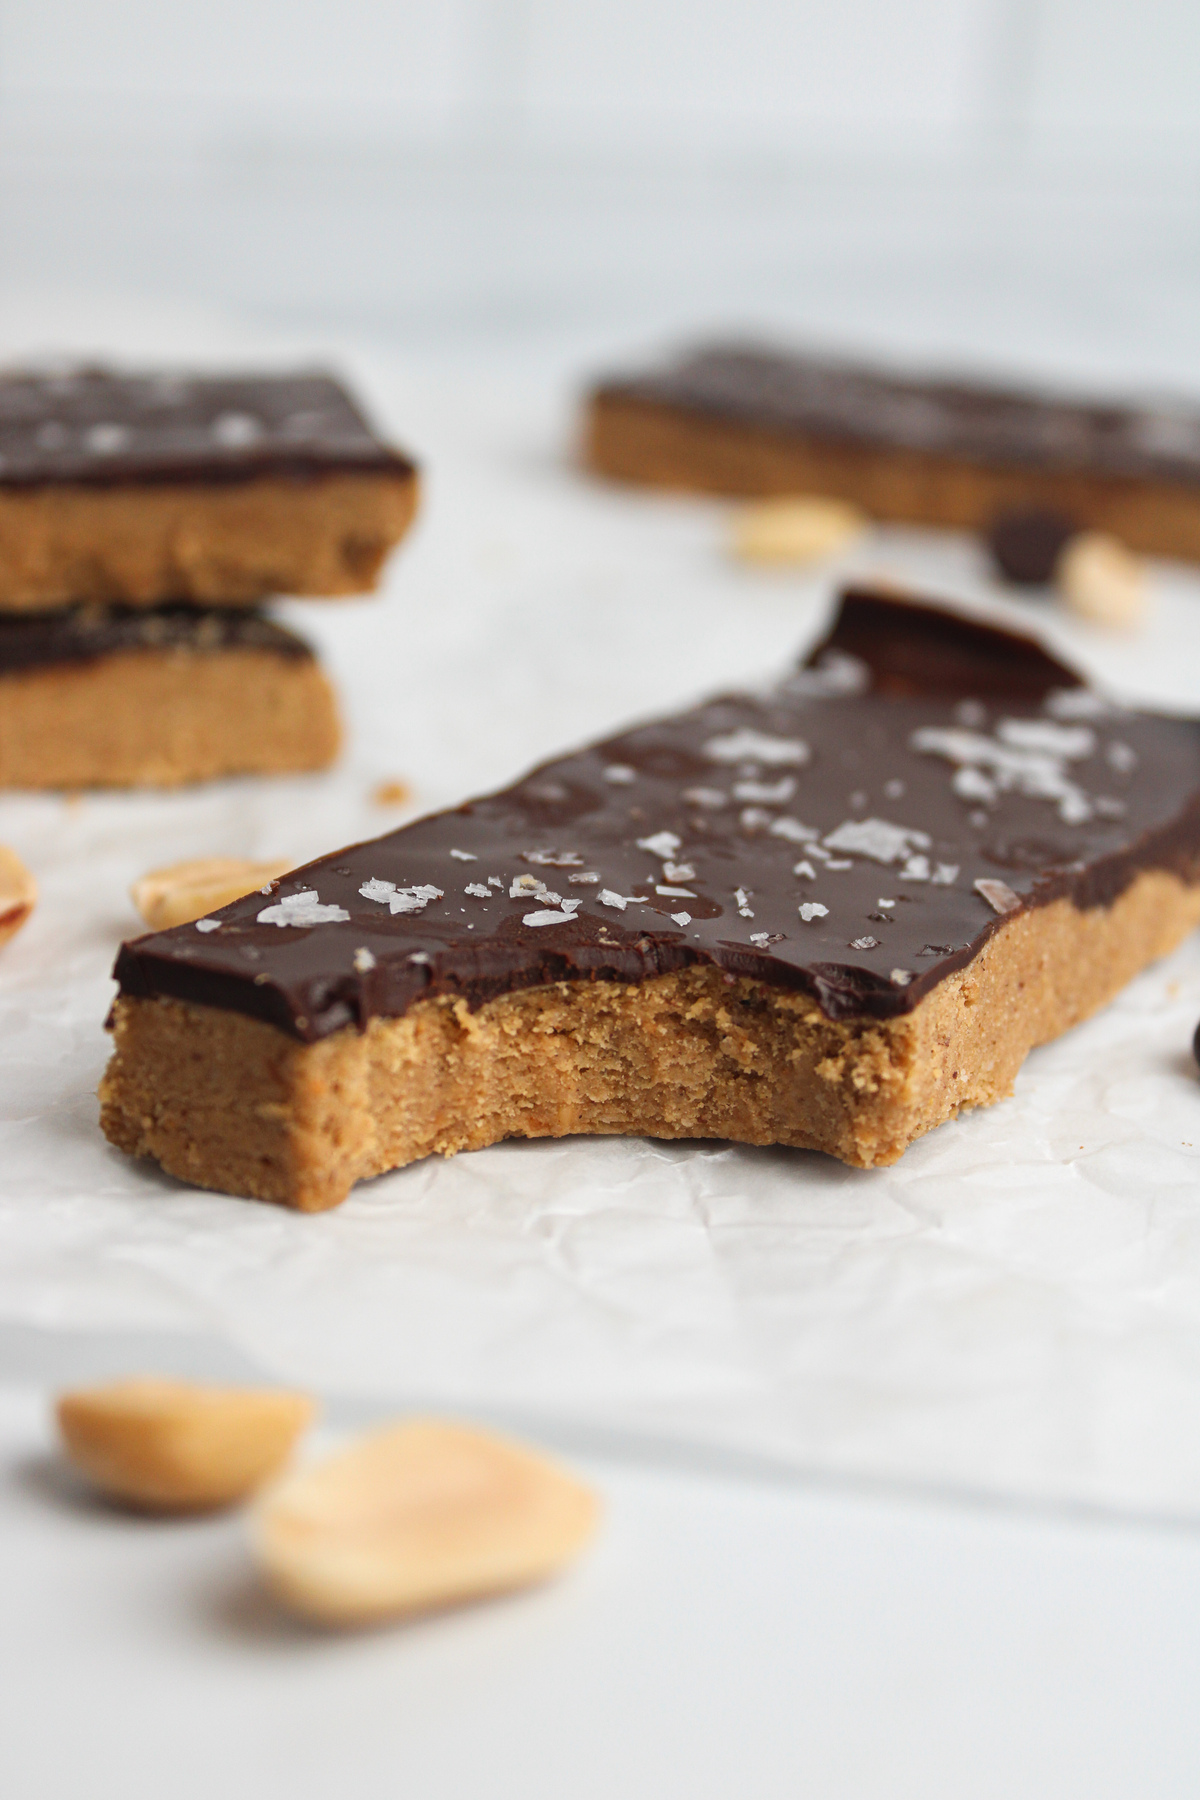
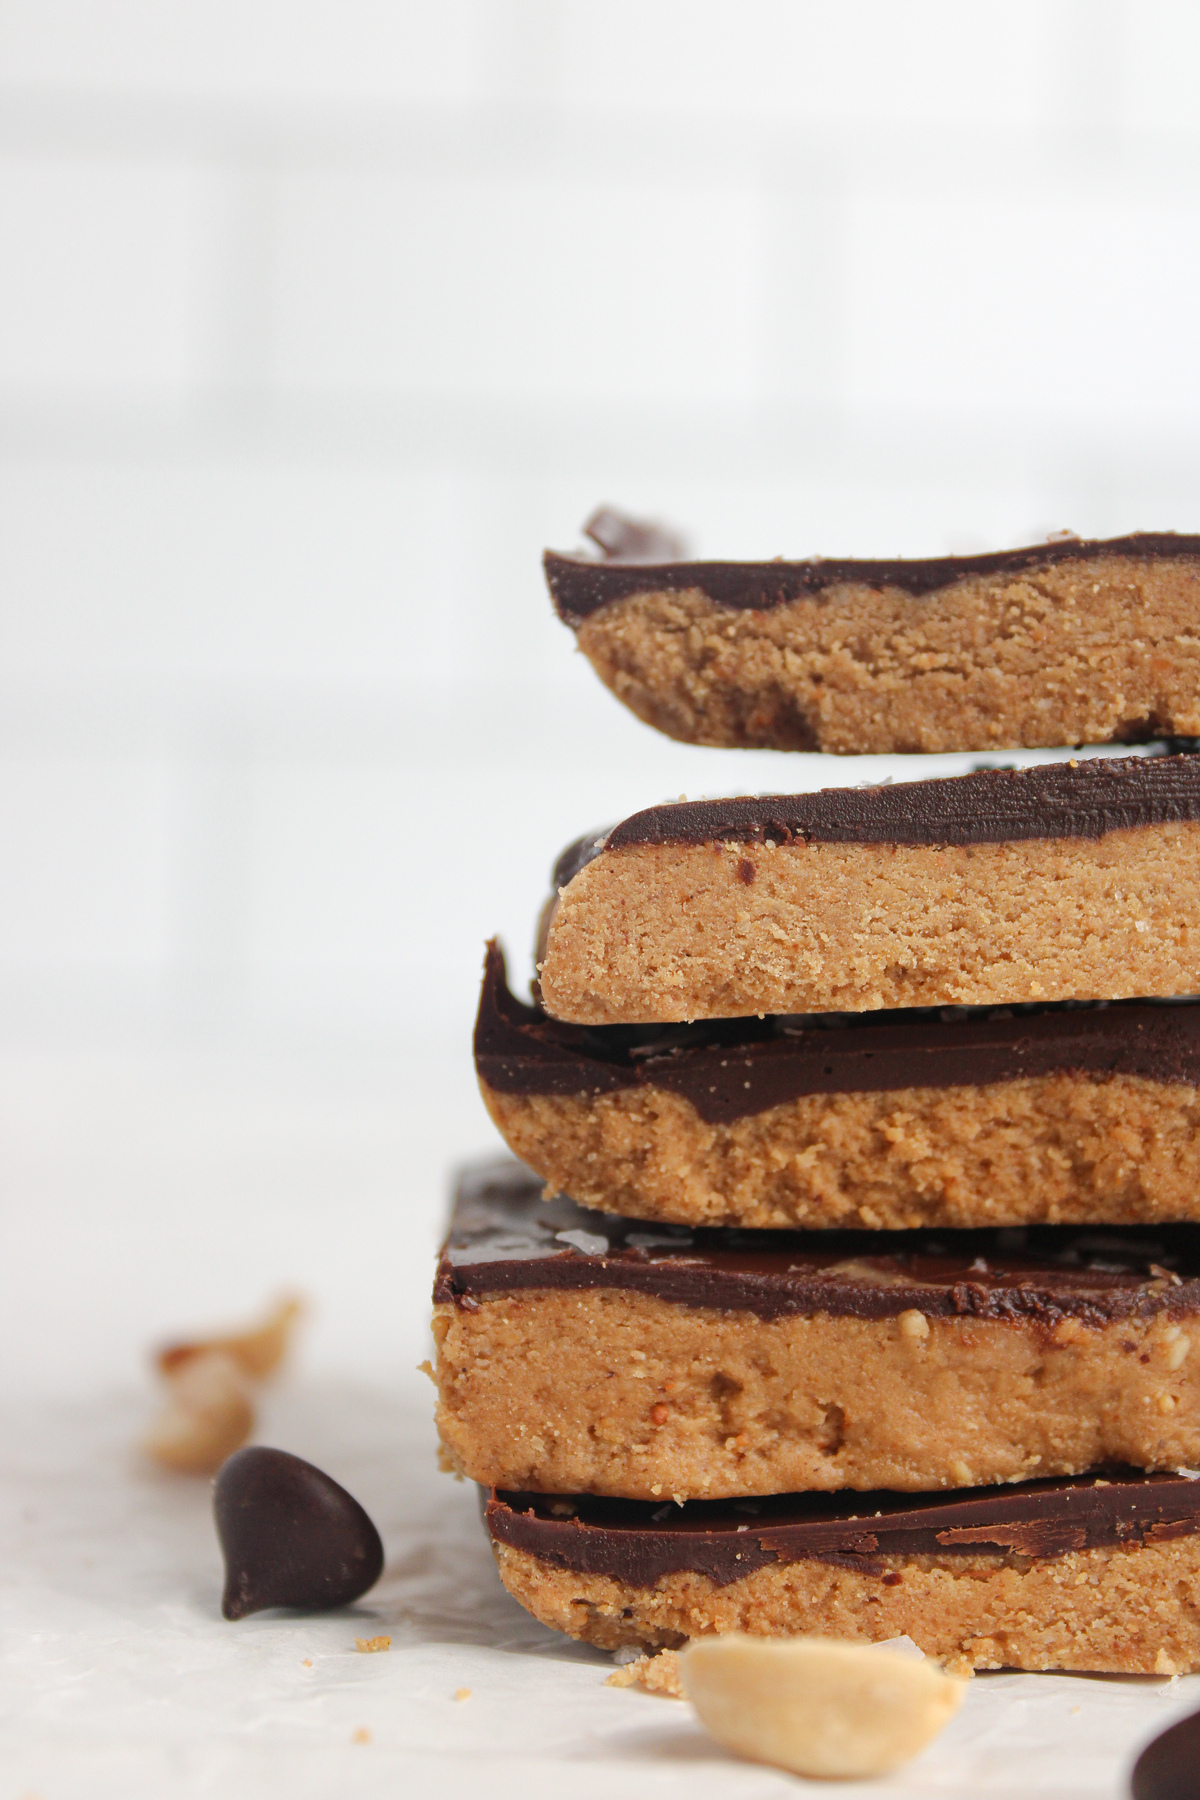
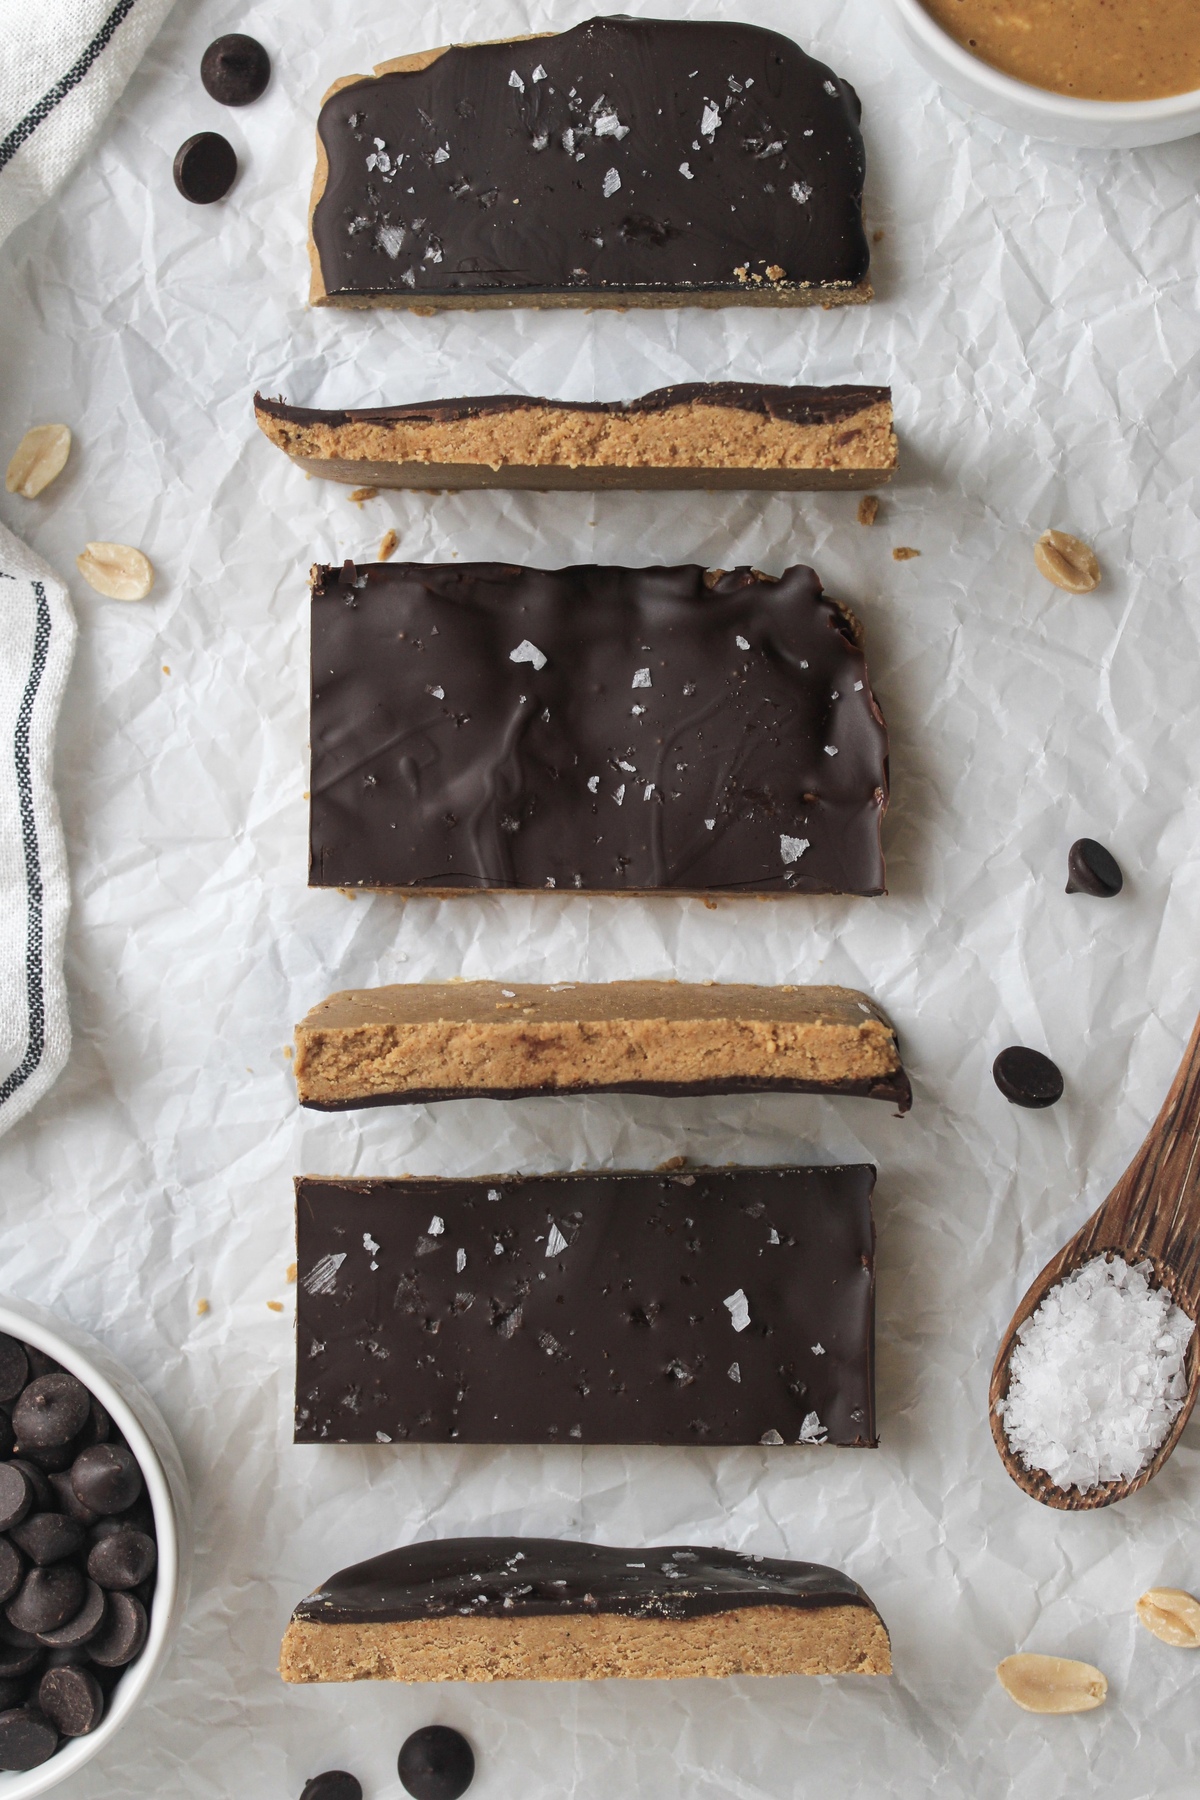
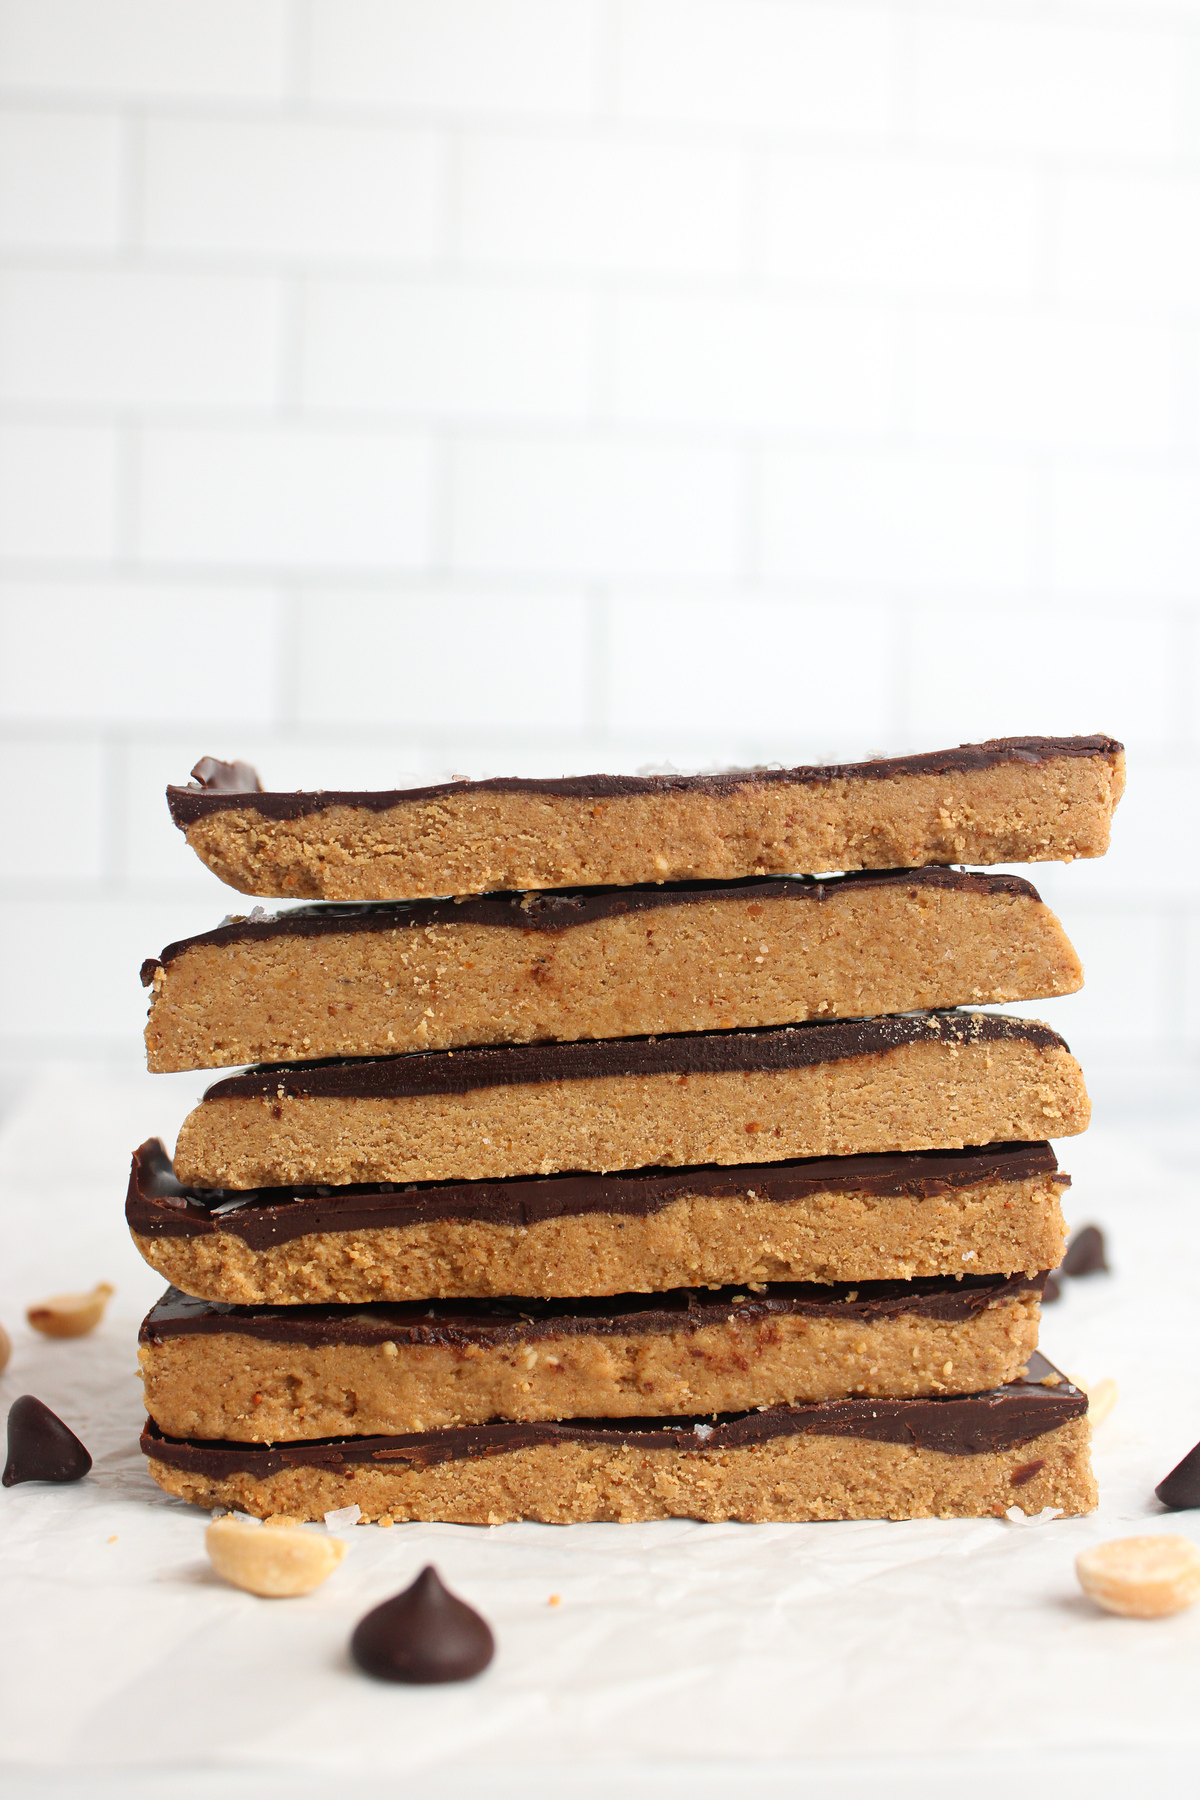
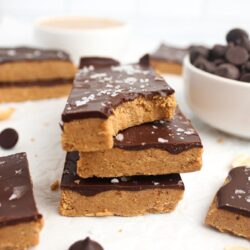
These bars feature a dense, creamy peanut butter base topped with a rich layer of chocolate and a sprinkle of flaky sea salt for a wholesome yet indulgent snack you won’t be able to resist. They’re perfect as a post-lunch treat, afternoon pick-me-up, post-workout snack, or even a healthier dessert.
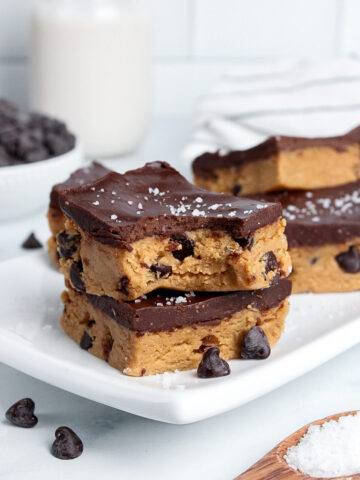
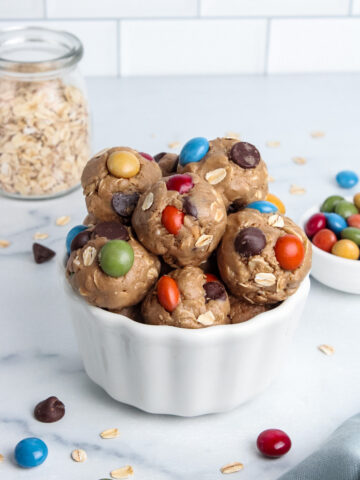
If you’re into no-bake snacks like these, be sure to check out my healthy no-bake cookie dough bars and no-bake protein brownies. And if you love all things chocolate and peanut butter, you’ll also enjoy my peanut butter cup smoothie.
Why Make Homemade Protein Bars?
With so many protein bars on grocery store shelves, making your own from scratch might seem daunting. But let me tell you — these bars are truly as easy as they are delicious!
Why make homemade protein bars? Many store-bought bars have long ingredient lists and can get pricey if you buy them often. Don’t get me wrong; I love trying new bars from the store now and then. But with homemade ones, you're getting none of the refined sugar, preservatives, or additives, and instead filling up on vitamins, minerals, and of course, protein! Plus, making them yourself leaves plenty of room for ingredient and flavor customization. Oh, and you’re saving money in the process. Win-win-win!
Why You'll Love This Recipe
- Easy to make: Whipping up a batch is as simple as stirring everything together, pressing into a pan, and pouring melted chocolate on top. Plus, there’s no baking required.
- Tastes like a peanut butter cup: If you're a fan of Reese's peanut butter cups, you're in for a treat! These bars truly taste like dessert but happen to be better for you.
- Protein-packed: With about 13 grams of protein per bar, they’re a great way to sneak in more protein and actually stay satisfied.
- Perfect for meal prep: Make a batch once and enjoy homemade protein bars all week long!
- Vegan & gluten-free: These bars prove you don’t need dairy or gluten to enjoy a chocolatey, satisfying snack.
Ingredients
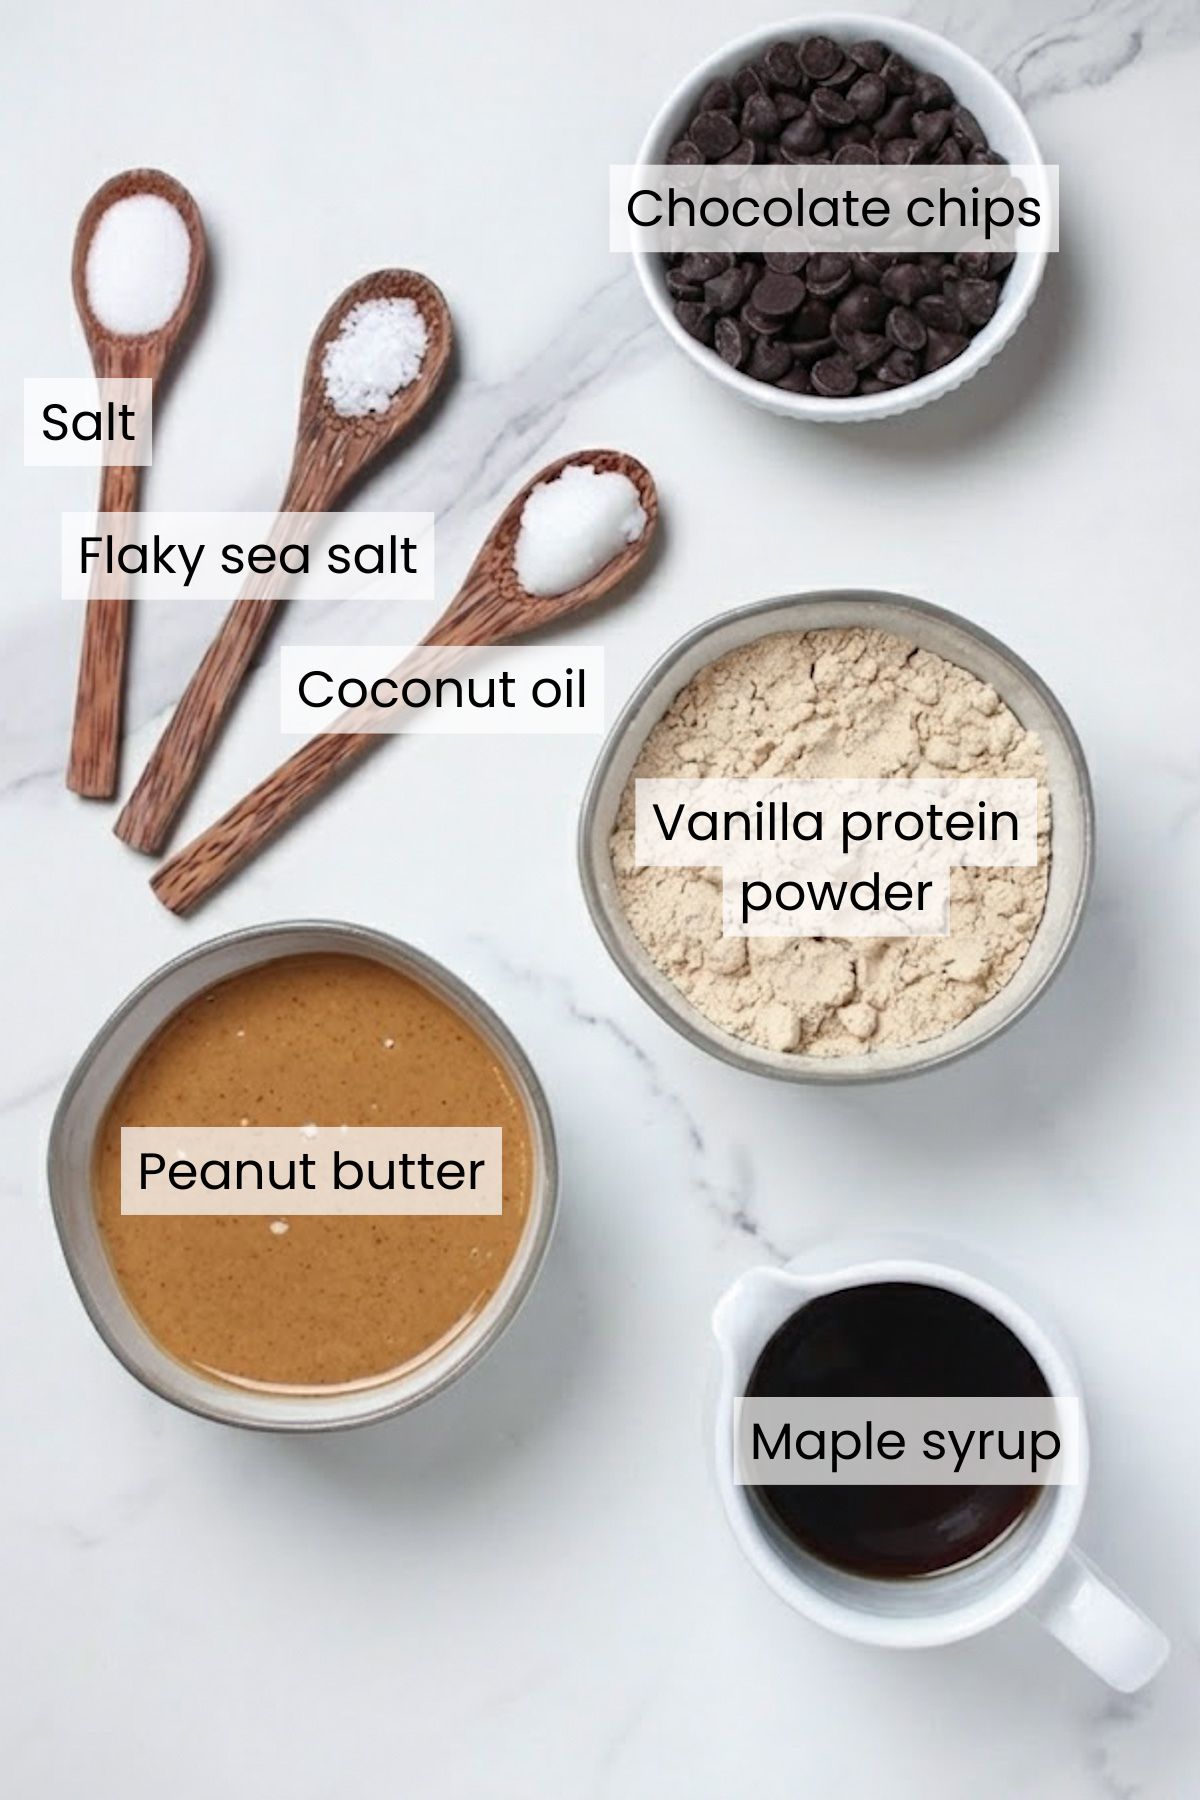
You only need a few simple ingredients to make these homemade protein bars:
- Peanut butter: The key ingredient! Use natural creamy peanut butter made with just peanuts and salt. It adds protein and gives the bars a rich texture and delicious flavor. Powdered peanut butter does not work well here.
- Vegan vanilla protein powder: Packs in lots of protein and helps bind the bars together while giving them a yummy flavor. I haven’t tested this recipe with whey protein, but if you do, start with a bit less and add more only if needed to reach a thick, pressable dough.
- Maple syrup: Naturally sweetens the bars. Agave nectar or other liquid sweeteners will also work.
- Salt: Just a bit of salt helps balance the sweetness.
- Dark chocolate: Because chocolate + peanut butter is a match made in heaven! Use your favorite dairy-free dark chocolate chips or bar, or opt for semisweet if you prefer a sweeter topping.
- Coconut oil: Optional, but it helps thin the melted chocolate so it spreads easily. It also softens the chocolate topping, which helps prevent cracking when slicing.
- Flaky sea salt: Optional, but highly recommended if you love a sweet-and-salty combo. It also makes the bars look extra pretty.
Find the full ingredient list with measurements in the recipe card below.
Substitutions & Variations
Here’s how you can get creative with this protein bar recipe!
- Swap the peanut butter: Almond, cashew, sunflower, or even cookie butter can work. Just make sure it’s smooth enough to bind the ingredients.
- Try other protein powder flavors: Swap the vanilla protein powder for chocolate, caramel, or peanut butter–flavored protein powder for a different flavor vibe. Choose a flavor that pairs well with the chocolate and peanut butter.
- Add mix-ins: Fold in some chocolate chips, dried fruit, or sprinkles after combining the base ingredients for a fun twist.
- White chocolate: These bars are also delicious with a vegan white chocolate topping instead of dark chocolate — or use half of each and swirl them together!
- Sugar-free: Choose sugar-free maple syrup and chocolate chips — I like Lily’s stevia-sweetened chocolate chips.
- Make protein balls: Roll the mixture into balls and coat in melted chocolate.
How to Make Chocolate Peanut Butter Protein Bars
Making homemade protein bars is easier than you think! Follow these simple steps:
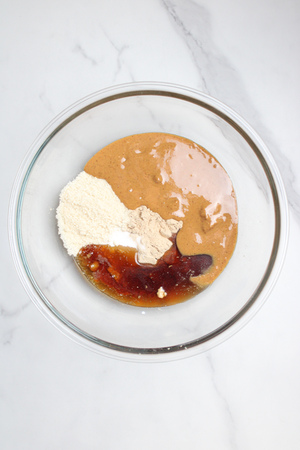
Step 1: In a bowl, mix the peanut butter, protein powder, maple syrup, and salt until a thick dough forms. You can use your hands to help it come together.
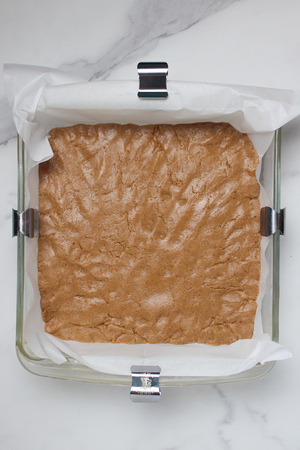
Step 2: Press the mixture into a parchment-lined pan.
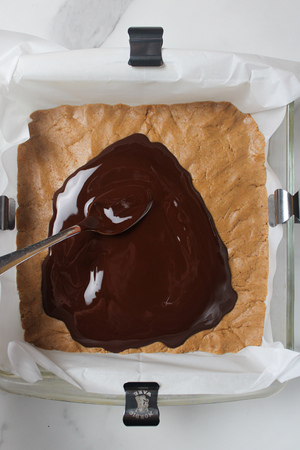
Step 3: In a small bowl, combine the chocolate chips and coconut oil. Microwave in 30-second intervals, stirring between, until melted. Pour and spread the chocolate over the peanut butter layer. Sprinkle with flaky sea salt, if using.
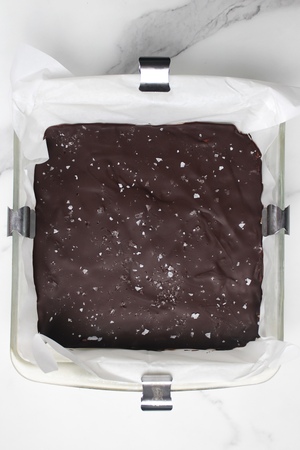
Step 4: Refrigerate for 1 hour, then remove from the pan and slice into bars or squares. Enjoy immediately or store in an airtight container in the fridge.
Chloe's Tips
- Use runny nut butter: This helps the ingredients bind together more easily. If your nut butter is overly thick, the bars may turn out too dense.
- Use a good-tasting protein powder: The protein powder you choose matters! Since it makes up a big part of these bars, its flavor will come through — so use one you enjoy the taste of. I like Ora Organic and Macro Mike.
- Adjust the pan size: Use an 8×4-inch loaf pan for thicker bars or an 8×8-inch pan for thinner bars.
- Don’t burn the chocolate: Heat the chocolate and coconut oil gently, stirring frequently, and stop as soon as they’re melted to avoid burning.
Serving Suggestions
Enjoy these protein bars with a cold glass of non-dairy milk and some fresh fruit for a satisfying snack.
How to Store These Homemade Protein Bars
Store these chocolate peanut butter protein bars in an airtight container in the fridge for up to 2 weeks — the perfect snack to have on hand! For longer storage, freeze them in a freezer-safe container or bag for up to 1 month. If frozen, let the bars sit at room temperature for a few minutes before eating to soften.
Frequently Asked Questions
More No-Bake Snacks to Try
Did you try this recipe?
Let me know what you thought by leaving a ⭐ star rating and comment below and sharing it on Instagram or Facebook!
Thank you!
–Chloe
Chocolate Peanut Butter Protein Bars
By Chloe MartinIngredients
- ¾ cup natural creamy peanut butter
- ½ cup vegan vanilla protein powder
- ¼ cup maple syrup
- ½ teaspoon salt
- ½ cup dairy-free dark chocolate chips (or chopped chocolate bars)
- 1 teaspoon coconut oil (optional, see notes)
- pinch of flaky sea salt (optional, for topping)
Instructions
- In a medium bowl, combine peanut butter, protein powder, maple syrup, and salt. Mix with a spoon until you can't anymore, then use your hands to help work together. It should form into a thick dough.
- Line a pan with parchment paper. Use an 8×4-inch loaf pan for thicker bars or an 8×8-inch pan for thinner bars. Press the peanut butter mixture evenly into the bottom.
- In a small microwave-safe bowl, add chocolate chips and coconut oil. Heat in the microwave in 30 second intervals, stirring in between, until melted and smooth. Pour melted chocolate over the peanut butter layer and spread evenly. Sprinkle flaky sea salt on top, if desired.
- Place in the fridge for 1 hour, then remove from the pan and slice into bars or squares.

Leave a Comment